Properly aimed lighting is one of the most important, yet easily overlooked aspects of great retail design. Done correctly, it will accent the merchandise you want to sell and lead your customers through your store. Check out this step-by-step guide on aiming to make your store attractive to customers.
Step 1: Preparation
Walk through the store and verify that your lighting is operational. Having everything working properly will make your life easier in the following steps and maximize your ability to highlight products and displays. Another factor to consider is the accessories that come with many accent lighting fixtures. If your light fixtures have accessories (such as filters, louvers, etc.), make sure they are installed correctly before proceeding.
There are a few supplies that you should pull out for the next steps:
- Glove or rag: Get a glove or rag to use when positioning light fixtures. If they have been on for a while, they are likely very hot and could burn bare hands.
- Ladder: Get a ladder so that you can safely adjust your accent lighting.
- Notebook: You may want to take notes as you go.
- Camera: Get a camera (your smartphone will work great) so that you can remember problem areas or send the final results to a colleague.
Step 2: Evaluate how your store looks
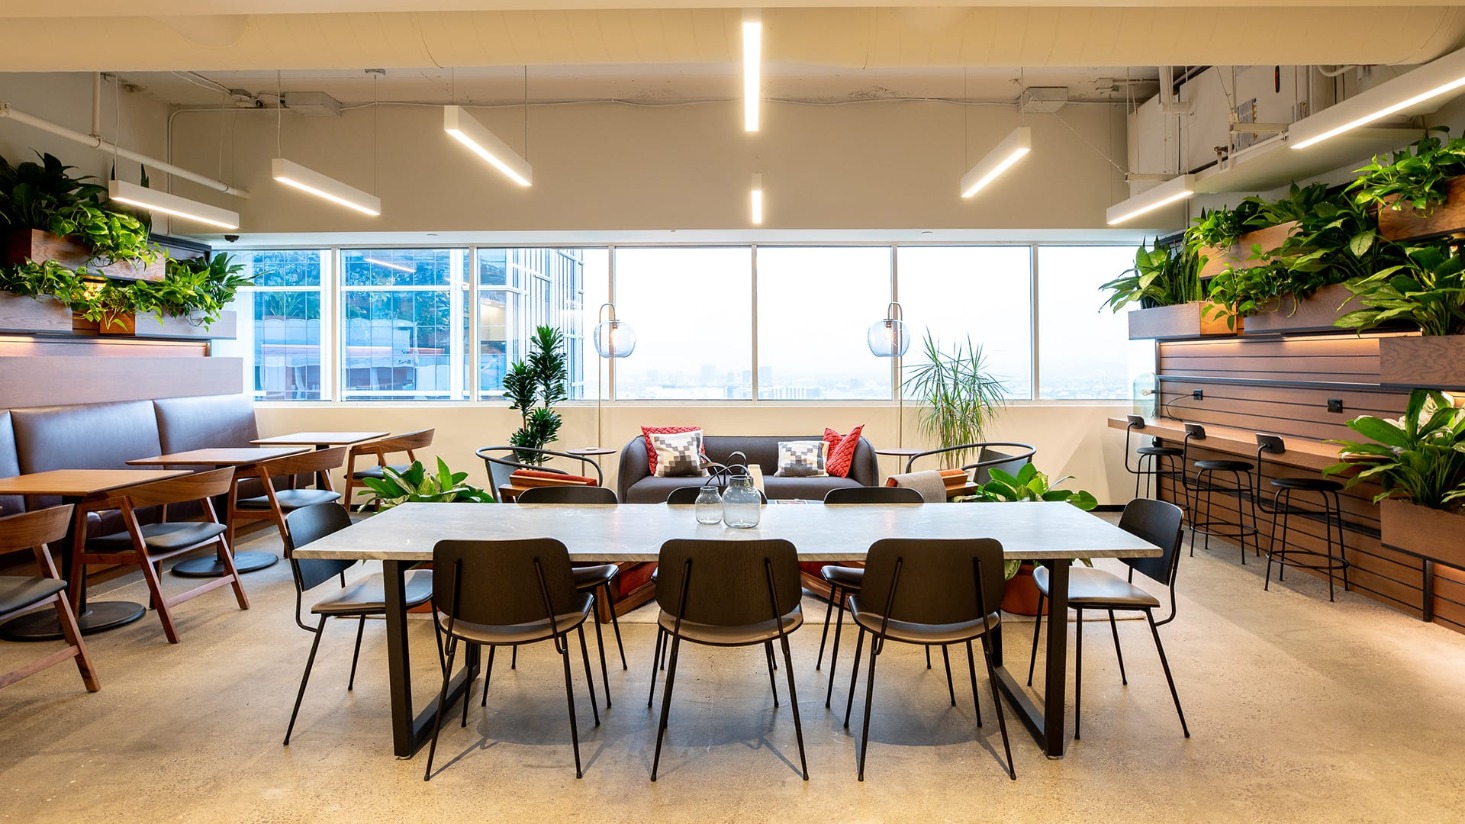
Take a step back and look at how your store looks. Where is your eye drawn? What are the most important displays to highlight? Do you notice any dark areas or displays that seem too bright?
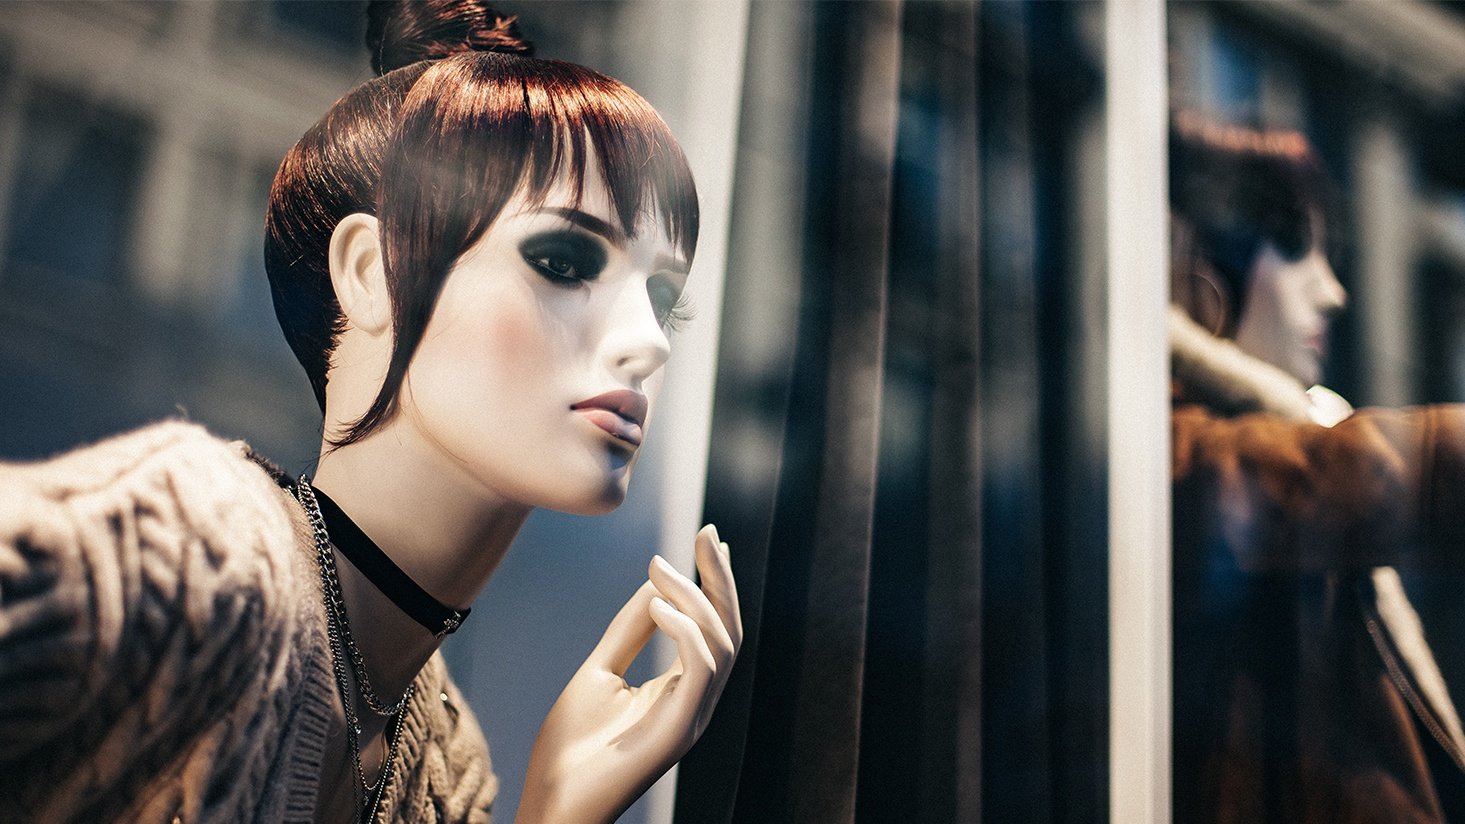
Here is an example of one retail storefront that could use some adjustment:

It's important to visualize the elements that you would like guests to focus on most. Plan on pointing two or three fixtures on displays that are key features, one fixture on minor features, and possibly zero fixtures on the floor. It's typically not necessary to provide specific floor lighting due to the spill light in the space. If you use track head fixtures, you may need to move them to different parts of the store to accomplish the look you want.
As a rule of thumb, you should try to make your storefront five times brighter than the rest of the store and displays three times brighter than the general lighting.
Step 3: Select the right fixtures
Once you are ready to start aiming fixtures, get your ladder and gloves, and pick a display you'd like to highlight. Take a look at the surrounding light fixtures and choose ones that are within three or four feet of your display.

By selecting the correct fixtures or moving track heads to this placement, you will be able to
Step 4: Aim your fixtures at proper angles
Before you climb
It's not all about lumens. Read our post, "Focus on delivered lumens and footcandles, not just lumens, to increase brightness"
Move the fixture so that the center of the beam (the brightest part of the beam) focuses on the merchandise you want to highlight. It may be helpful to move your hand in front of and then out of the light beam to help see the effect of the new placement.
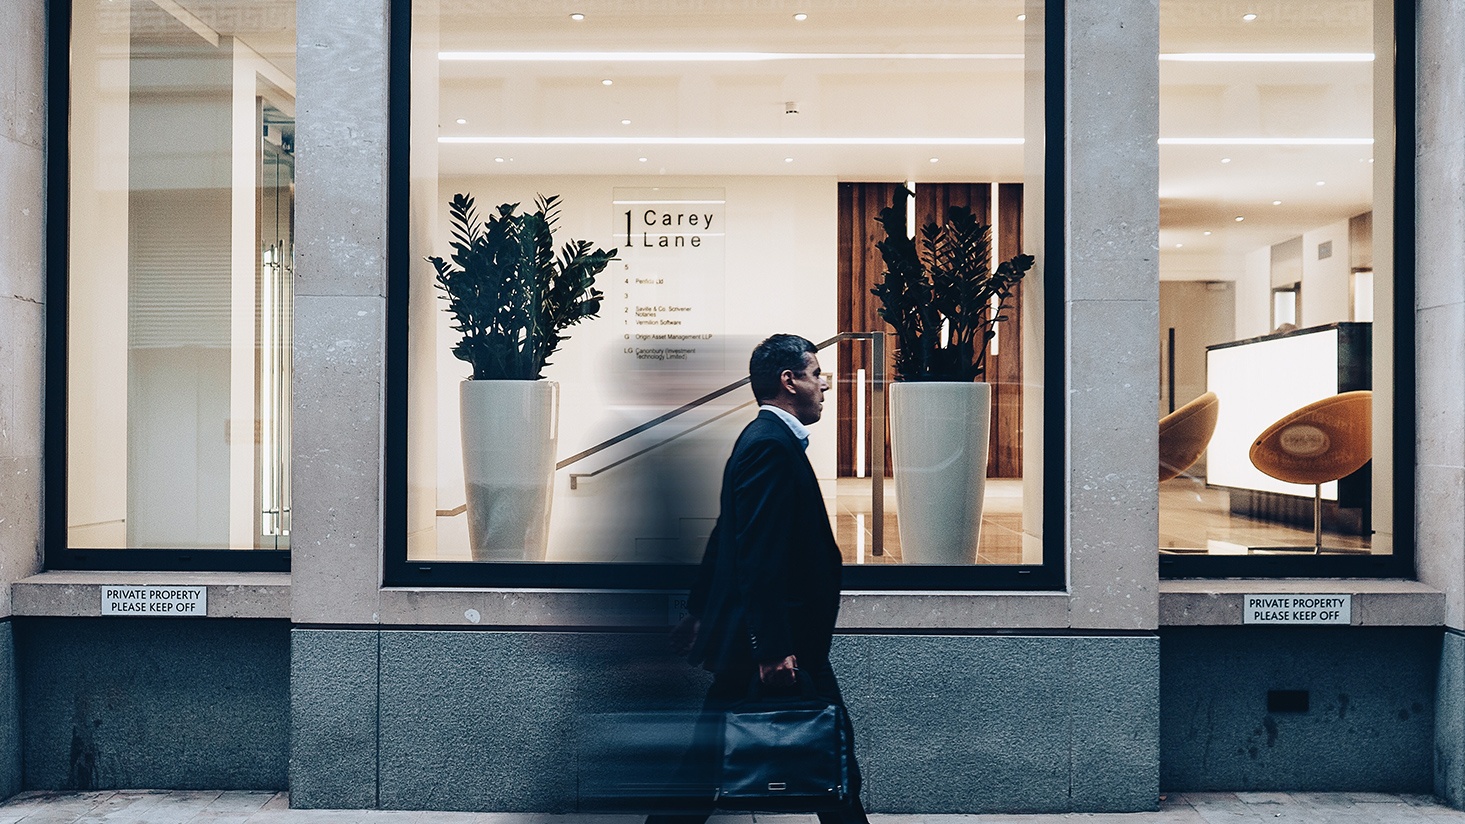
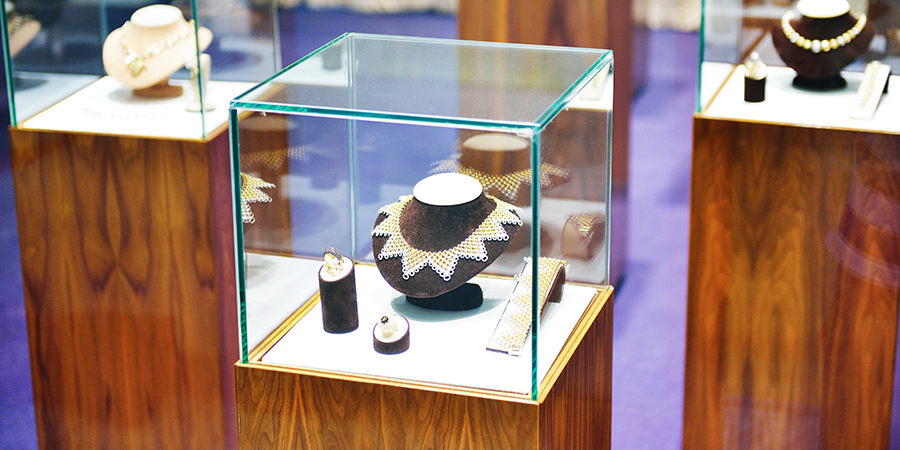
Here is an example of aiming done right:

If you are highlighting smaller objects (like wallets or jewelry) or the texture of a wall or surface, you may be able to get away with aiming fixtures straight down. The two most important factors to consider are how the product looks and whether the light fixture
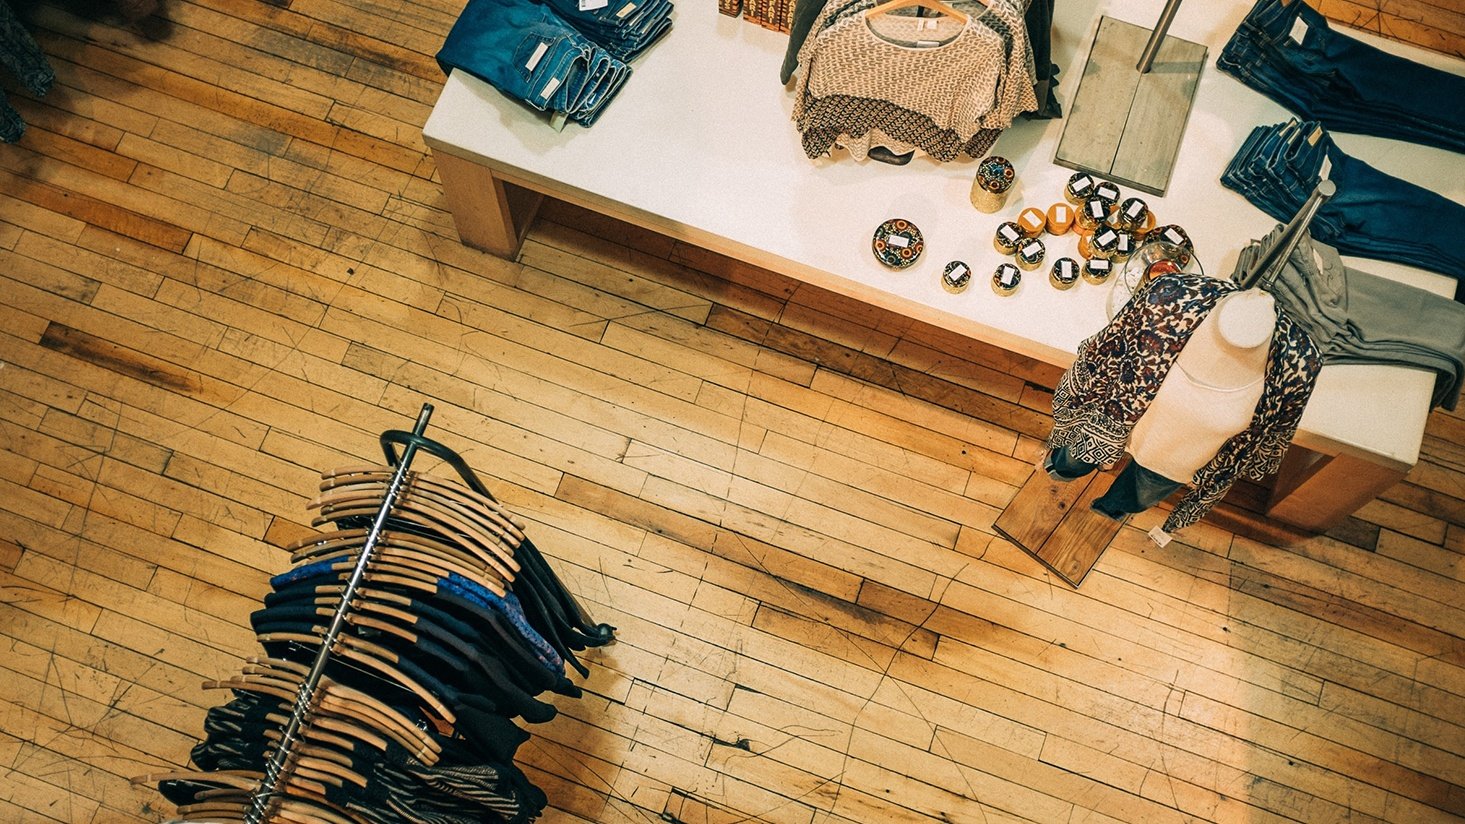
Step 5: Take a step back and check your work
It isn't uncommon to miss angles or specific products while you are on a ladder moving fixtures. One of the most helpful things you can do is to step back and look at the complete picture of your sales floor. Continually ask the questions of whether there are dark spots or if the right displays stand out. You may also want to get a few opinions as you try different aiming techniques.

Pro tip: Once you have the lighting the way you like it, take a few pictures so that you have examples of how the sales floor should look after maintenance calls or when displays are moved.
If you found this step-by-step guide to retail light aiming helpful, you may want to download our expert tips for retail lighting design.
Our team of lighting designers also offer professional aiming services to help get the most out of your lighting and promote consistency.