Constant current LED drivers are used in most commercial LED fixtures, but finding a replacement LED driver can be complicated. It gets even harder when a driver label is damaged or you have a programmable driver but don't know the output settings.
We're walking through a step-by-step example for how to measure the amperage output of a constant current LED driver so you can have confidence in maintaining your LED fixtures. If you're reading this, you probably have a good sense that you're working with a constant current driver, but if you're not sure what kind of LED driver you have, check out these resources:
It's also worth noting that this test requires a working driver, so if you are replacing a driver that has already failed, you can do this measurement on another working fixture in your facility.
We're including detailed instructions below, but you can also check out our explainer video:
Tools needed to test your LED driver
Before you begin, you'll need these tools to test the output of your driver.
- Multimeter: Use a quality multimeter that will measure DC amperage to three decimal places. There are some meters that only measure AC amperage or receptacle testers that don't measure amperage at all, so this is a critical detail.
- Wire connectors: You can use any type of wire connector, but we've found that Wago Lever Lock wire connectors are safe, quick, and easy for doing tests like this.
- Other tools: You may also need tools (screwdriver, etc.) to open your fixture and get access to the driver.
⚠️ Safety note! This may seem obvious, but safety is important. Turn off power to any light fixtures before you begin working on them and be sure to use appropriate personal protective equipment.
Step 1: Configure your meter to read DC amperage
The first step to measuring the amperage output of your driver is to set up your multimeter properly. You'll want to make sure your testing leads are plugged into the correct ports (they should be labeled COM and A), that the dial or mode selector is measuring amperage, and that your meter is set to read DC. It will probably look similar to this:

Since many LED drivers show an output in milliamps, it may be tempting to set your meter to the "mA" setting, but we recommend a meter that can measure amperage ("A") to three decimal places instead.
The reason is that you're measuring the unknown output of a driver, and in many cases LED driver output is greater than the maximum mA measurement limit on many meters. In our test, our meter is fused with a maximum capacity of 800mA on the milliamp setting. If we had connected our 1400mA driver to our meter with the wrong mode, we could have blown a fuse, damaged our meter, or gotten an incorrect reading.
Step 2: Connect your meter in series to the LED driver output
To measure output amperage, you'll need to connect the meter in series with the wiring between the meter and the LED board. In other words, you want the power being supplied from the driver to the LED board to pass through the multimeter.
You'll need to identify the wire supplying power to the LED board (typically red) and connect it to the red lead of your multimeter.
Then, connect the black lead of your multimeter to the wire that goes to the LED board.
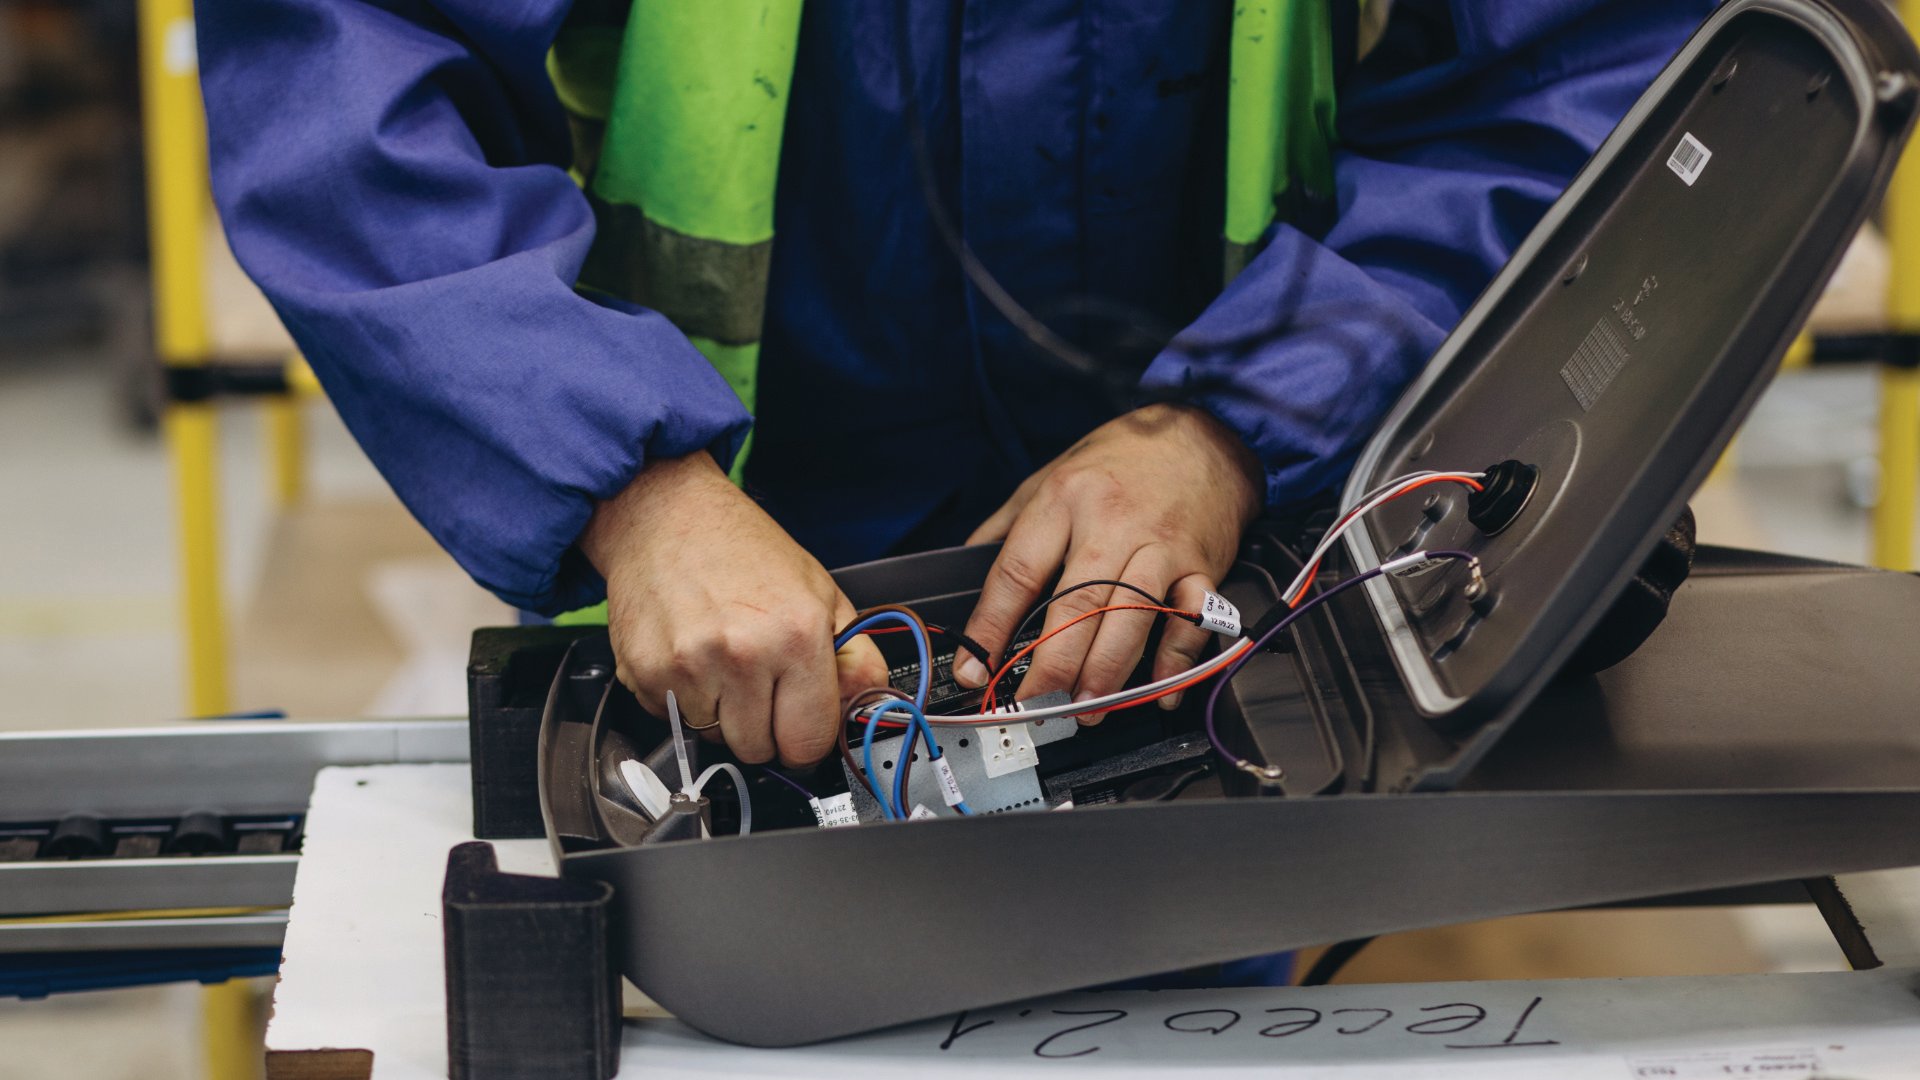
You might be able to unscrew a wire from a terminal on the LED driver, or you may need to make other disconnections inside the fixture like we've done here:

Step 3: Turn on power to the fixture
Now that your meter is set up and you're connected in series between the driver and LED board, you can turn on power to the fixture.
In our example, we have an LED driver for a wall pack fixture that's rated at 1.4A (1,400 mA) and is producing 1.364A (1,364 mA) on our meter:

This means we can replace this with a constant current driver rated for 1,350mA to 1,400mA or an LED driver that can be programmed to 1,360mA.
Note: If your fixture was working before you connected your multimeter and you're not getting a reading or the LED board is not longer illuminating, recheck your connections and multimeter settings. If you need to make any adjustments, don't forget to turn off power to the fixture before touching wires or changing connections.
Finding a replacement constant current driver for your LED fixture
Unfortunately, there's no getting around the technical specs for LED drivers. Hopefully your settings are all clearly marked on your LED driver label, but if not, we hope this was a helpful guide to sleuthing your way to the correct settings. In the end, our goal is to demystify LED drivers and make it easier to navigate the options.
If you're trying to read an LED driver label or take note of the output from your testing, don't forget to use our guide to record your specifications. Then head over to our Replacement LED Driver Wizard for recommendations.
And if you need a helping hand, our team is always here to help.