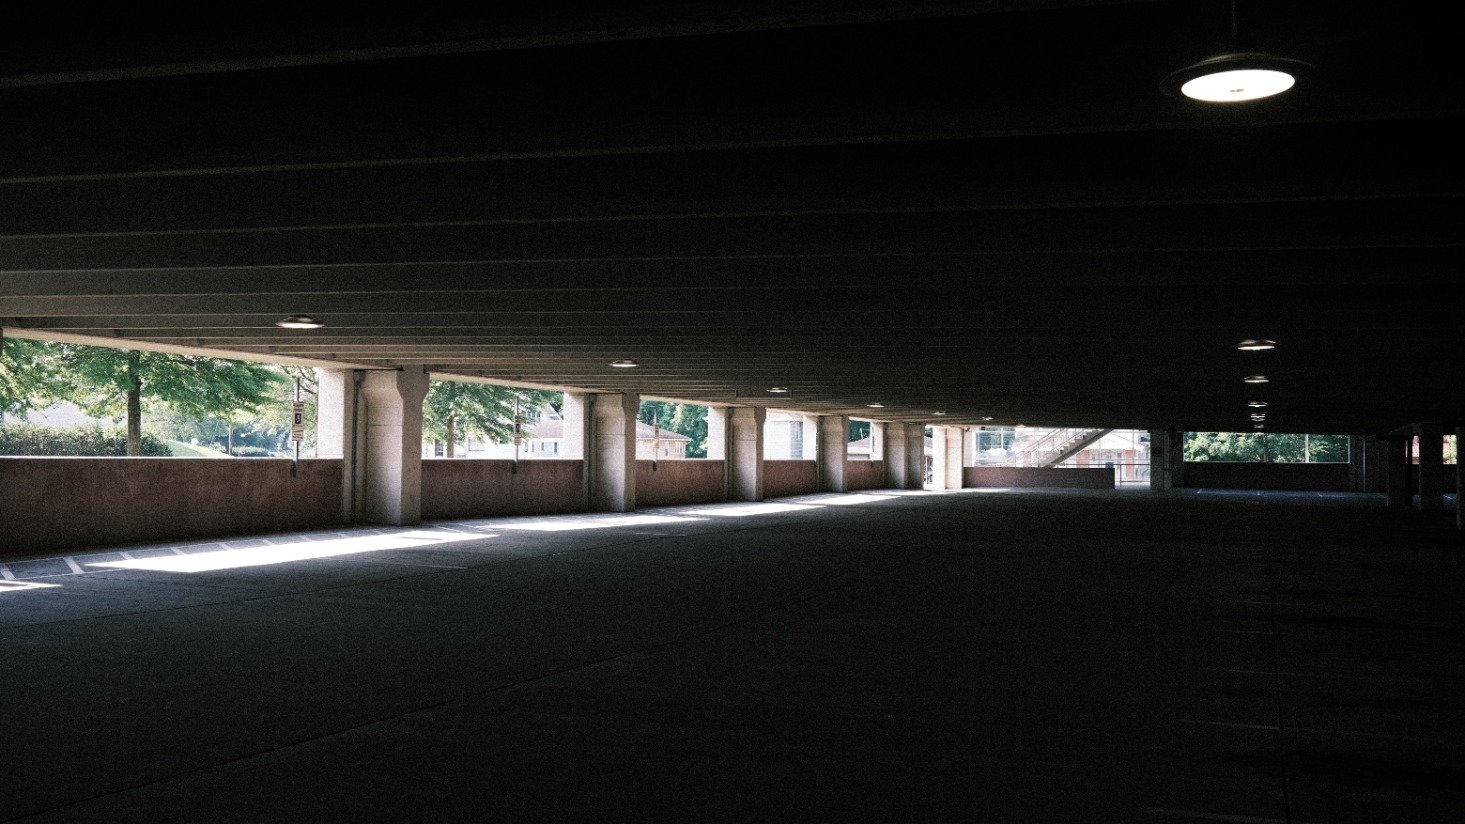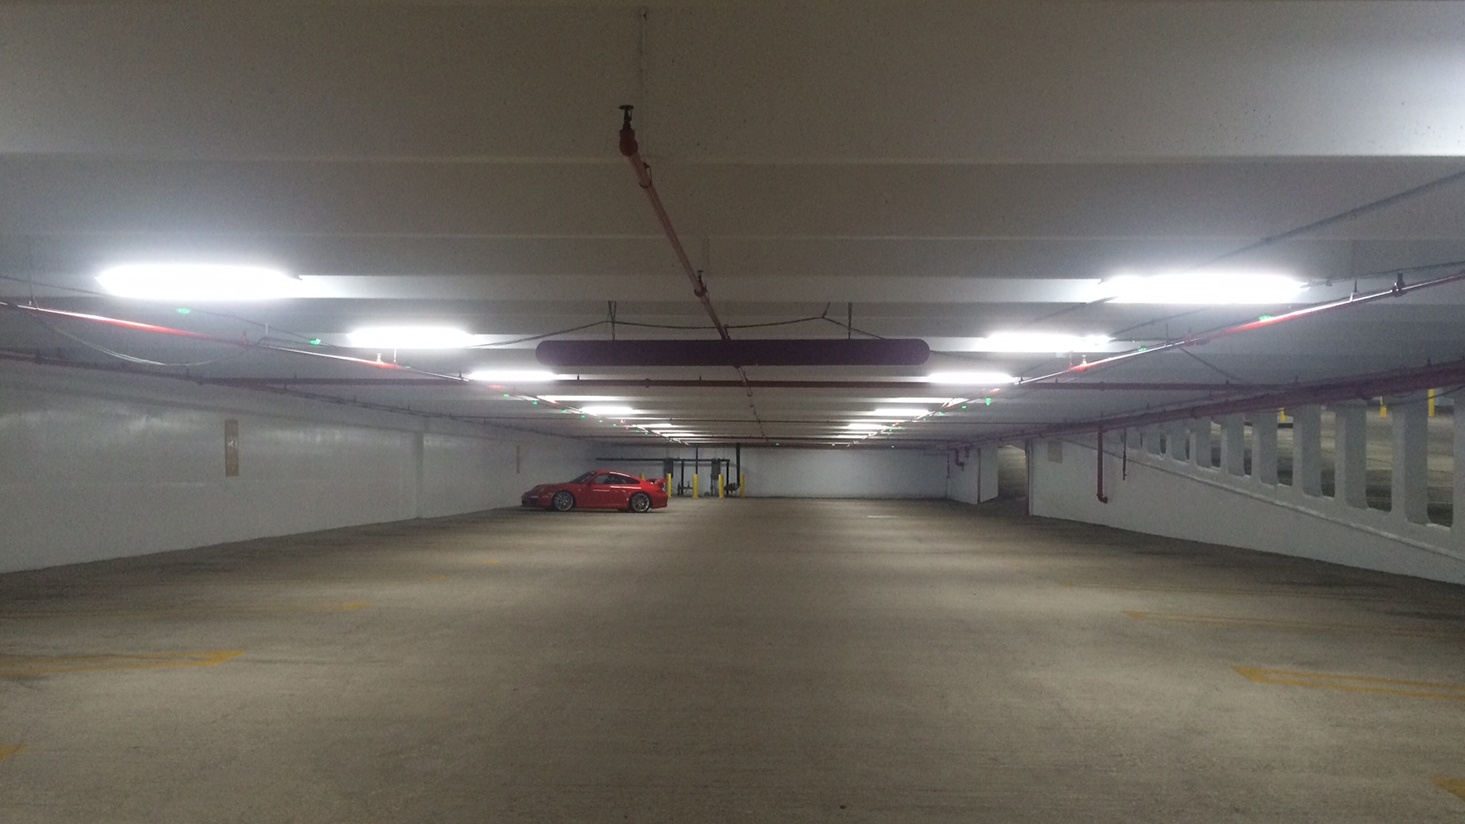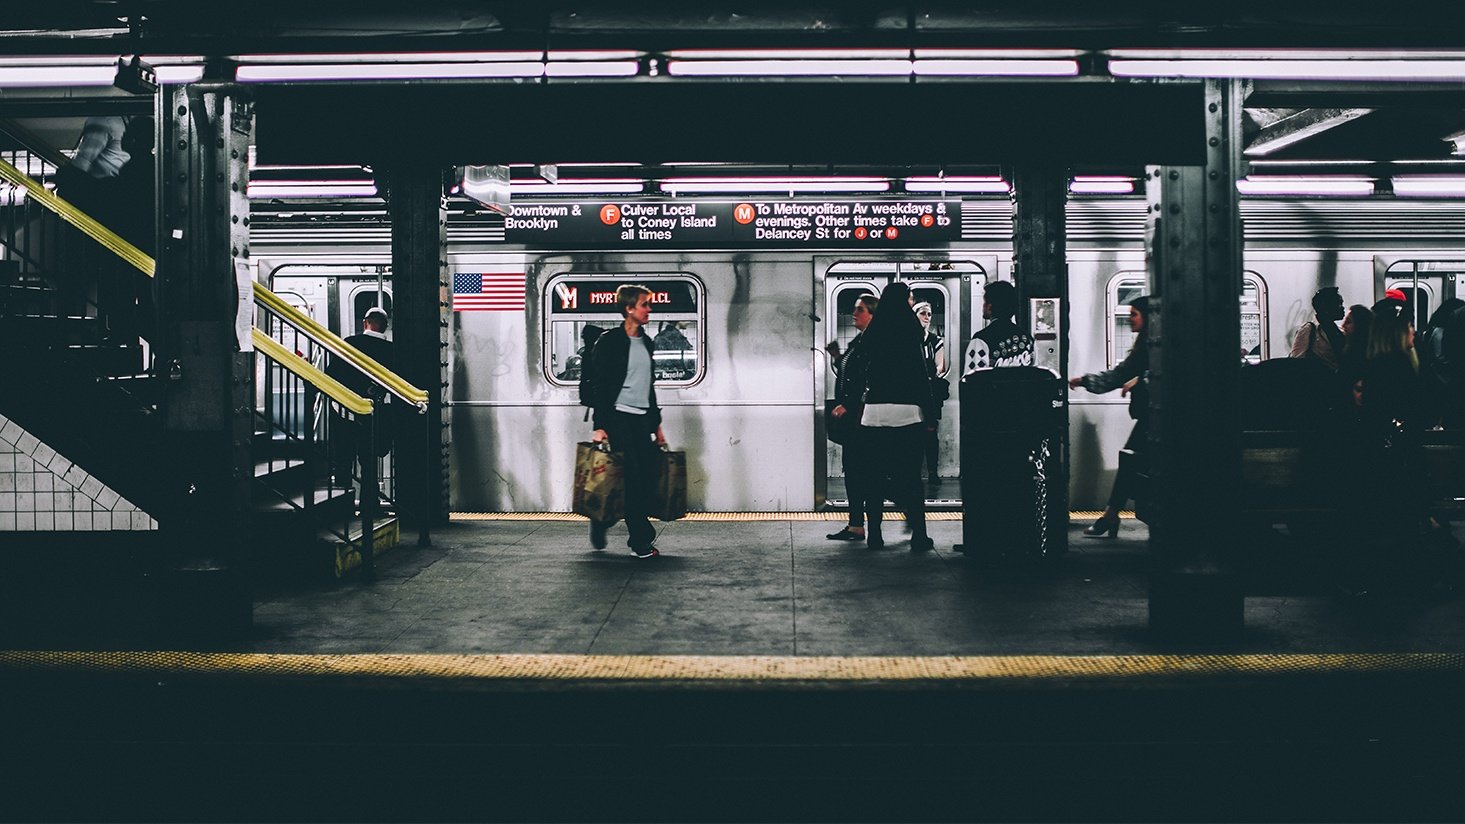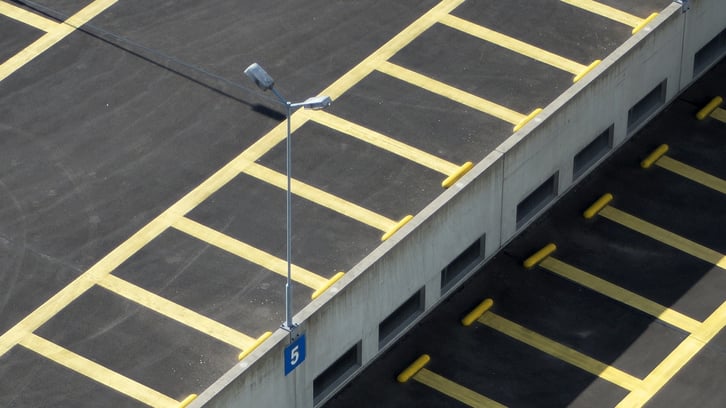
Parking areas are one place where quick payback on an LED retrofit is almost guaranteed. The applications tend to be difficult to access, typically requiring special equipment like a lift or even closure, making coordination a total headache. And the cost of keeping a parking area lit all night with the correct amount of light is nothing to sneeze at, especially this time of year, when daylight is minimal.
Parking lots and parking garages are two areas we almost always mention when a customer asks us where they should retrofit first.
Yet, while the benefits in your parking area are clear, and it may seem like a no-brainer to take a step in that direction, a parking area retrofit is not the easiest project in the world, from a labor standpoint. But hey – that's probably one of the reasons you want to retrofit. The less you have to maintain lighting that's 20 or 30 feet in the air, the better.
Here's a list of 9 tips to help you pull off a successful parking lot retrofit:
1. Create a checklist for verifying basic installation conditions and specifications
When it's "game day" for your retrofit project, the last thing you want is a surprise. It's critical that your lighting specialist and installer discuss the scope of the project ahead of time to make sure any nuances related to the specified product are understood.
Specifically, you want to make sure your installer verifies the following details while preparing for the retrofit:
Note: This is not a comprehensive list, but a starting point. Depending on your project, you may want to verify more details, or fewer.
- Pole height
- Voltage, wattage, and type of existing lamp
- Voltage, wattage, and type of existing ballast
2. Create a checklist for verifying basic site conditions
Unforeseen challenges presented by the project site are just the kind of surprise you're trying to avoid the day of installation. Here's a non-comprehensive list of details to verify related to the job site to ensure you have a smooth installation:
- Distance between poles
- Hindrances (trees, slopes, etc.) to poles
- Building schedules and traffic patterns
3. Verify if existing fixtures have photocells
Photocells could make your retrofit project more complicated. Knowing ahead of time whether your installer will have to deal with them – and whether they're connected to the building or the fixture itself – will help your preparations for the project greatly.
4. Focus on a product's warranty more than its rated life
With outdoor, high-burn fixtures, warranty is a significant spec. An eye-popping, too-good-to-be-true life rating doesn't mean much if the manufacturer is not willing to back that claim with a fair warranty.
Read more: When to consider an extended LED lighting warranty
5. Choose a reputable manufacturer
This tip is certainly not parking lot, parking garage, or exterior lighting-specific. It's critical to always vet manufacturers and make sure their products are proven. Don't take the bait on the cheap, off-brand stuff before having a discussion with your lighting specialist.
Download our checklist: 9 questions to ask a lighting manufacturer
6. Consider surge protection for your high-dollar fixtures
It may not be a bad idea to protect your investment in high-dollar fixtures with surge protection. Your electrical contractor or lighting specialist should be able to easily find you an affordable solution for this.
7. Check for rebates to help fund the project
Always see if there's a rebate you can take advantage of to help free up some extra money for your lighting conversion projects. Your lighting specialist or local utility company representative should know if there are any that will work for you in your area.
Top resources for calculating energy savings and finding lighting rebates
8. Bring extra LED drivers to the job site
What most often fails in a faulty LED fixture is the driver, not the diode. It's not a bad idea to have extra LED drivers on site to quickly replace in your new fixture, while you have the install crew and lift out at the job site. The alternative may be an incomplete project and unnecessary added costs, while the price of additional LED drivers is practically negligible.
9. Always beta test beforehand
Finally, mock up, mock up, mock up. I recommend beta-testing your chosen product for each application before install day. You don't want to end up with a parking lot full of lighting that is too dim or too cool in color temperature. Undoing that is pricy and frustrating. I always urge customers to order just one fixture per application ahead of time for testing purposes.